 |
| Our first day of work involves working outside, I love California! |
 |
| First we measure a square, with many diagonal lines with the same value. |
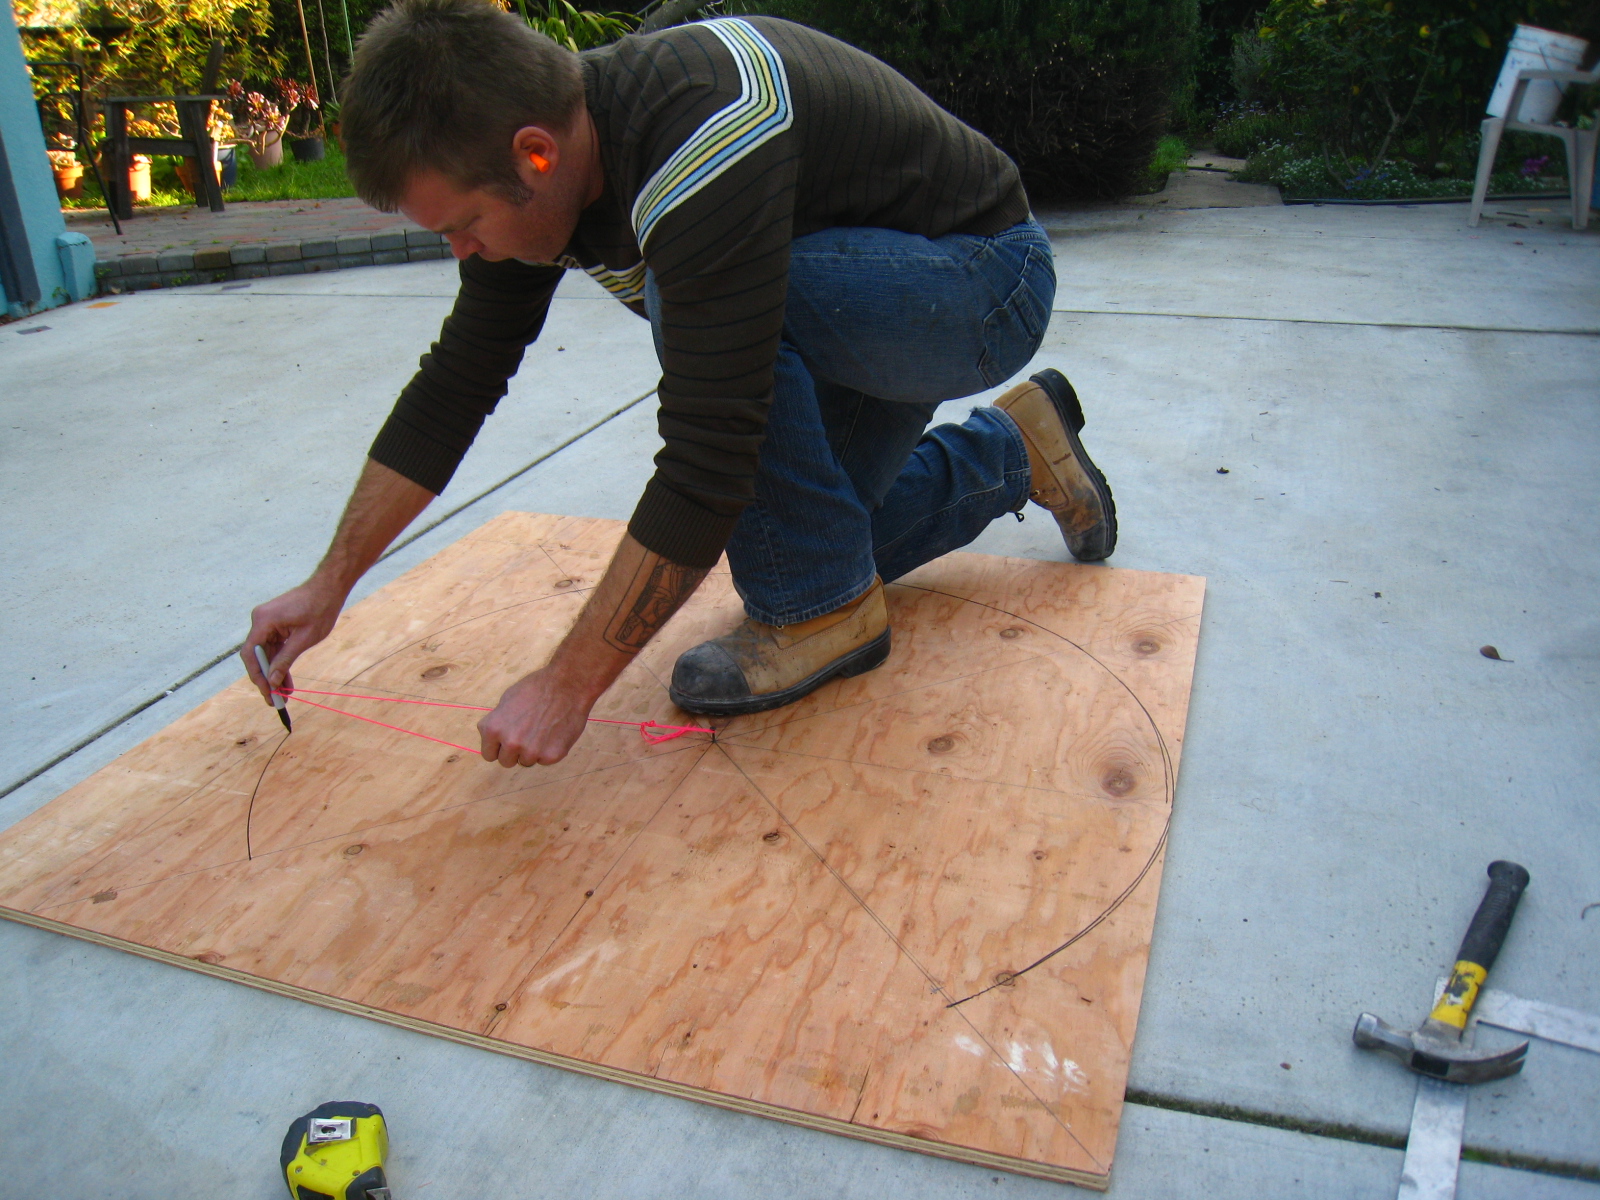 |
| Then Mike connects all the lines with a string, it works! |
 |
| We bring the boards to the site to figure out where they should go... |
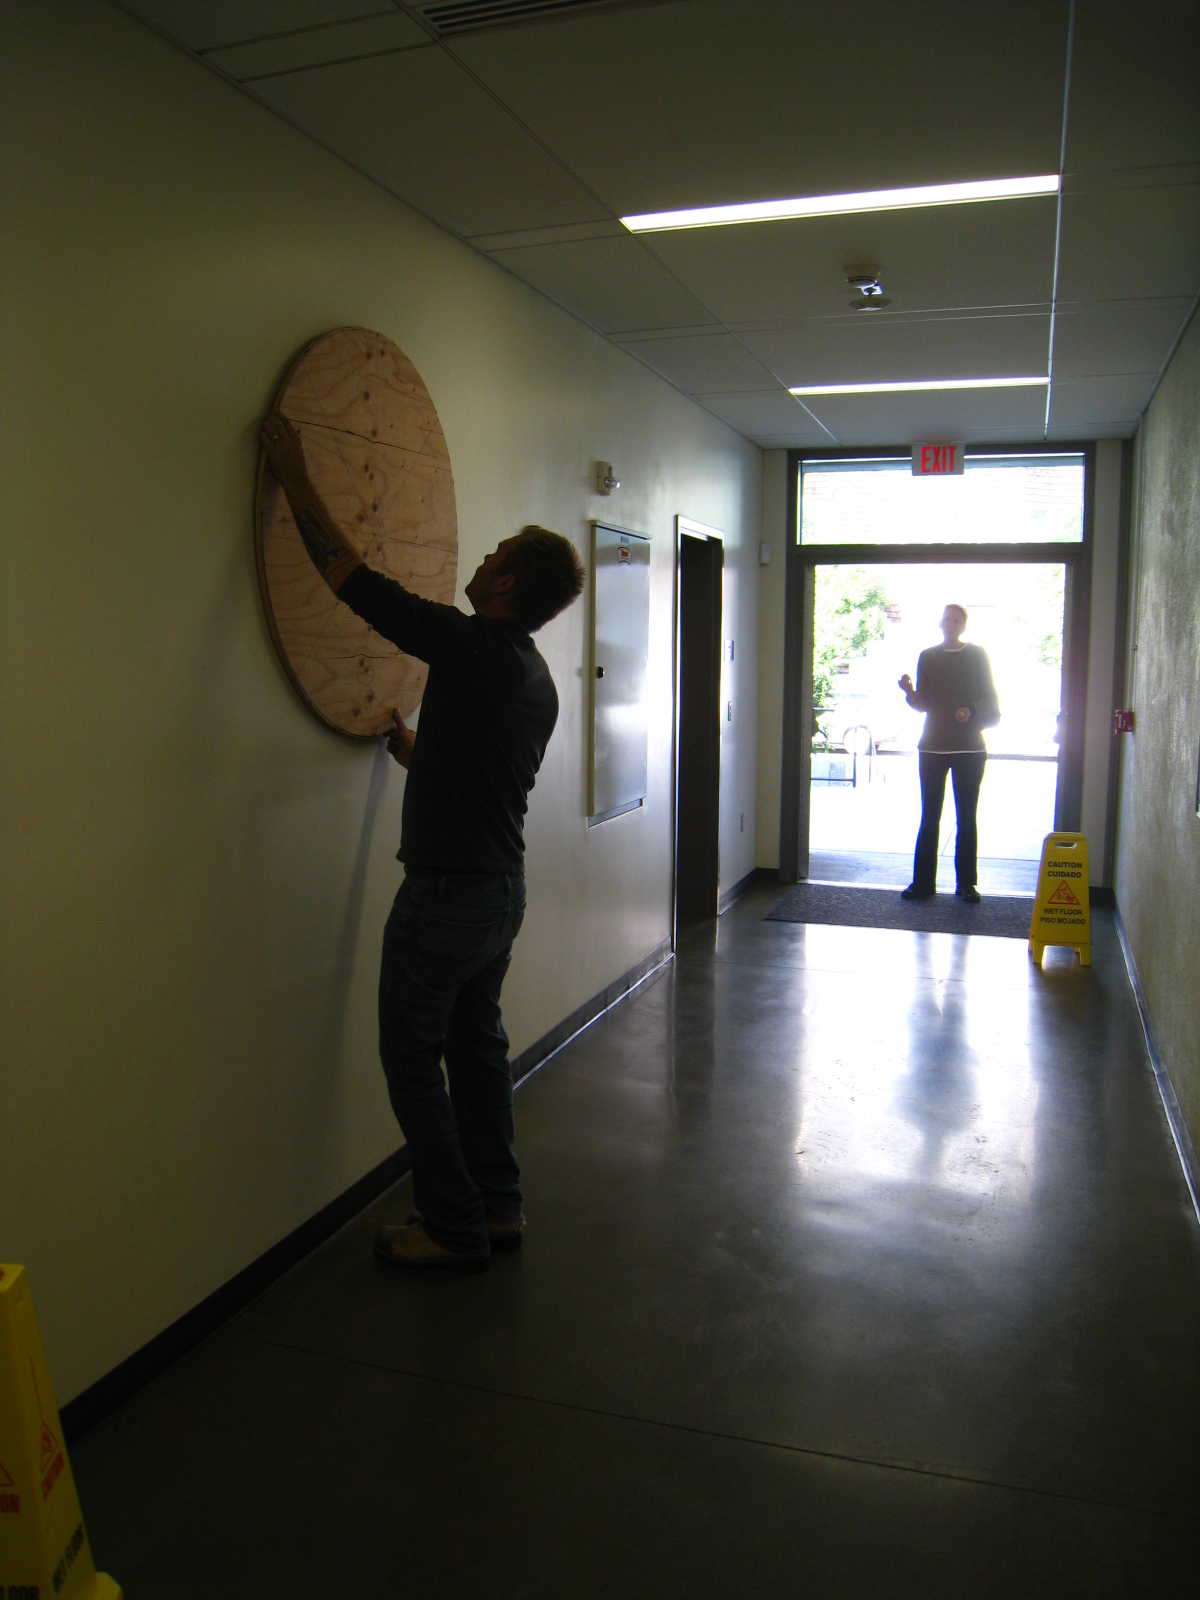 |
| Luckily the artist is there to guide us. |
 |
| End of day one! |

 |
| Mike drills holes in the custom made clips. |
 |
| Then he drills holes in the wall. |
 |
| And then he fastens the clips. |
 | |
| This is where a board should fit perfectly. |
 |
| It does! End of day two! |
 |
| Our crate with the mosaics arrive! |
 |
| The first one we will install. |
 |
| Back-buttering the smalti. |
 |
| It is easier for us to install on the table than on the wall (especially since this is a very busy recreation center). |
 |
| Once we have let the mortar set a bit, it is safe to pick it up and set it in place. |
 |
| The second mosaic we installed today. |
 |
| I am using all my strength to hold it to the wall while Mike screws the clips onto the board (not realizing the clips alone hold it in place). |
 |
 |
| End of day 3! |

 |
| The back of a spine. |
 |
| Mike is securing the mosaic to the wall (we are using this method so that if it is ever needed, the mosaics can be removed). |
 |
| The pieces on the edge are easy to accidentally knock out while mounting on the wall so some fixes are needed. |
 |
| Now that I know it won`t fall, I can leisurely secure it while Mike finds the drill. |


 |
| End of day 4! |
No comments:
Post a Comment